
You can track your form conversations using Meta Pixel through your Collect.chat settings. This helps you measure how visitors interact with your form and improve your ad performance.
Here’s how to connect your Collect.chat form with Meta Events Manager and send form interaction data to Meta Pixel.
Create Meta Pixel
Lets take you through the steps of creating the Meta Pixel, if you are doing this for the first time. Login to Meta Business Account and go to Events Manager and click on Connect Data.
 In the Pop up, Select Web and click Next,
 Then Select your Dataset or Create new dataset, then click Next,
 Choose Set up Manually, then Next,
 Choose Meta Pixel then click Next,
 Then Finally select Finish button.
Add your Domain Name to the Allow List
Select your Dataset then go to its Settings option scroll down and select Create allow List

Add collect.chat, chatbot.page or your custom Domain Name to the list and click Close.

Copy the Dataset ID
Select your Dataset (Pixel) Name then go to Settings, then Copy the Dataset ID.
Paste the Meta Pixel
Go to your dashboard and choose your desired form. Under Edit > Integrations, find Meta Pixel and click on Connect.
Paste the Dataset ID and click on Save.
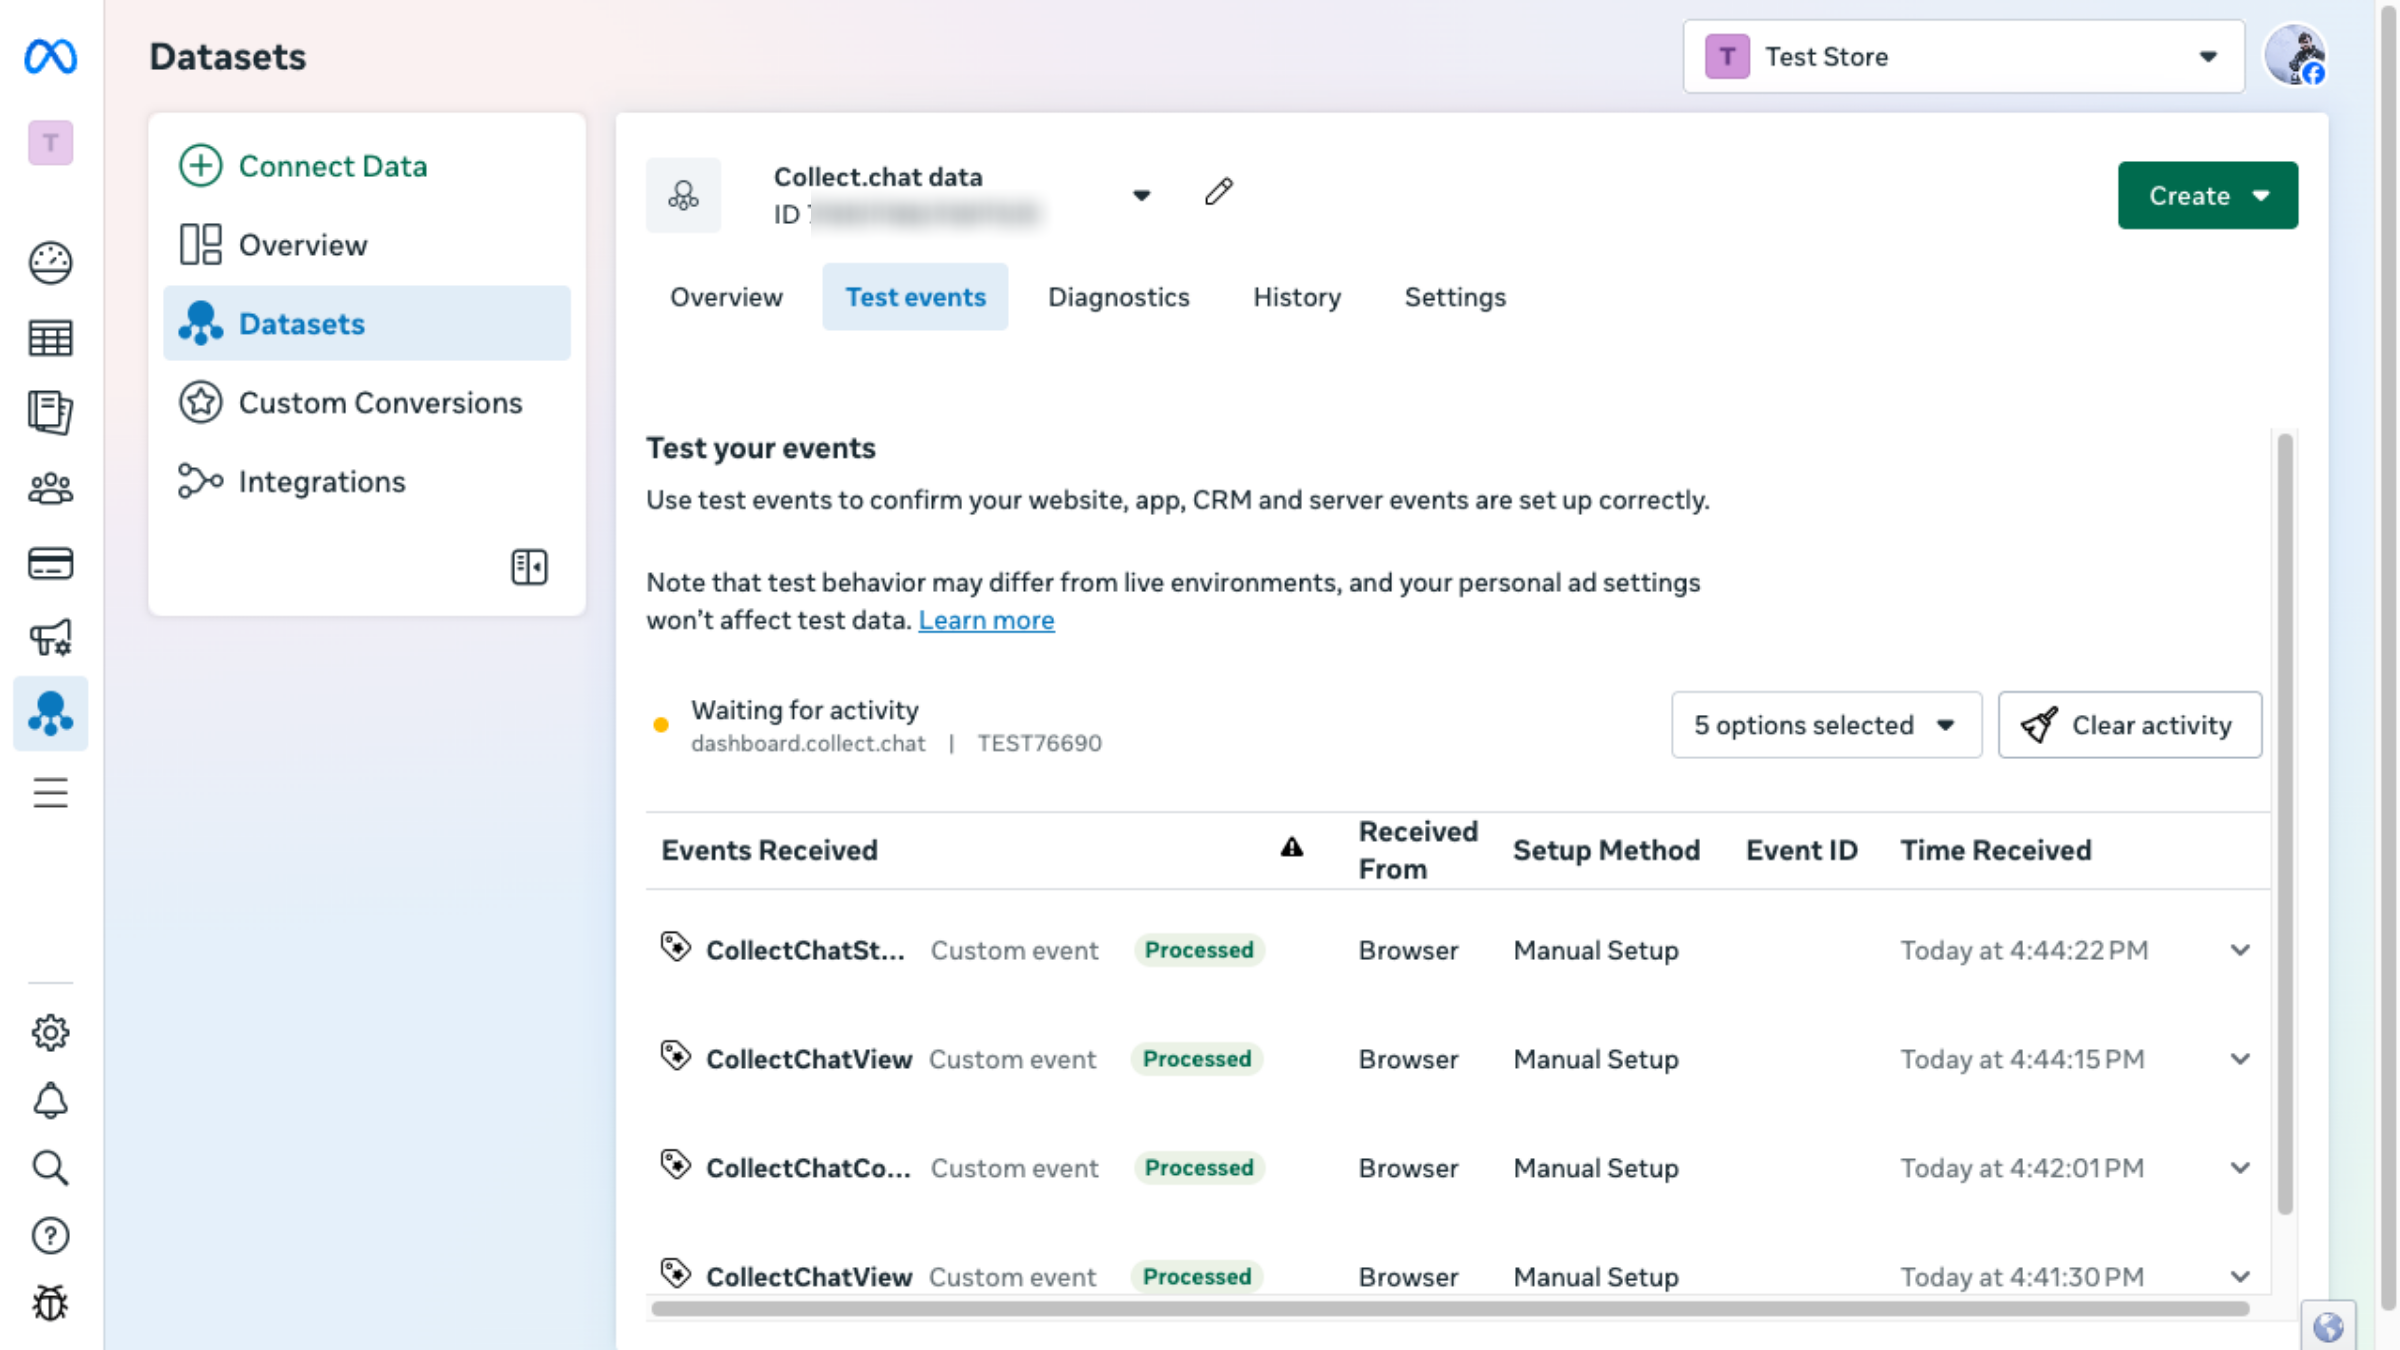
Test Event Creation
Go to your website. Start a few test conversations with your form.
See the Events
Collect.chat creates three types of Events for every conversation. The Event Category for all three Events will be the unique ID of the form.
The Event Action for these three are:
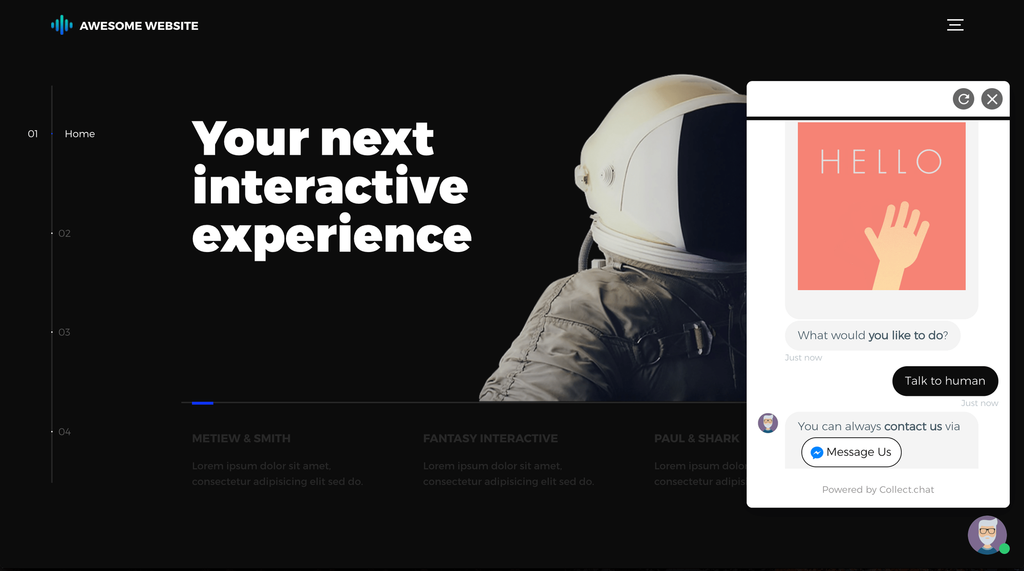
CollectChatView This event is triggered whenever the form is loaded on the page.
CollectChatStart - This event is triggered when the conversation begins.
CollectChatCompleted - This event is triggered when the conversation ends completely.
You can see these events in detail in the Test events option.
Custom Conversions
You can create custom conversions to track specific events from the form. If you are using multiple forms, then you can combine the URL information with the event to distinguish between them.
Still need help?
Contact us